

How To Upload The Contents Of An Unzipped Zip File
Uploading multiple files as a zipped folder
Multiple files can exist 'zipped', enabling them to be uploaded to QMplus in a unmarried detail. This can take obvious time saving implications. Once uploaded, the files tin be unzipped and then treated in the normal mode.
……………………………………………….……………………………………………………
Step 1: Zipping Files/Folders on your reckoner
To create a zipped file on your PC:
- Right click an empty space on your desktop or documents area; choose New > Compressed (zipped) folder.
- Give your zipped folder a proper name.
- To move multiple files in to this folder simply drag and drop or copy and paste your desired files into your new zipped folder.

Step two: Selecting Folder from the Add a resource card
- From within QMplus, click on the TURN EDITING ON push (top right of your screen).
- Locate the 'topic' where you would like your resource to exist displayed.
- Click on the Add an activity or resource menu for that topic and select Folder and Add.
Step iii: Uploading your zip folder
- Name your folder. Your students volition click on this to admission the content of the zipped folder. You might as well desire to give the folder a description, this is optional only helps give context to the individual files
- Elevate your binder directly to the folio using the 'drag and drop' choice or Click on ADD.
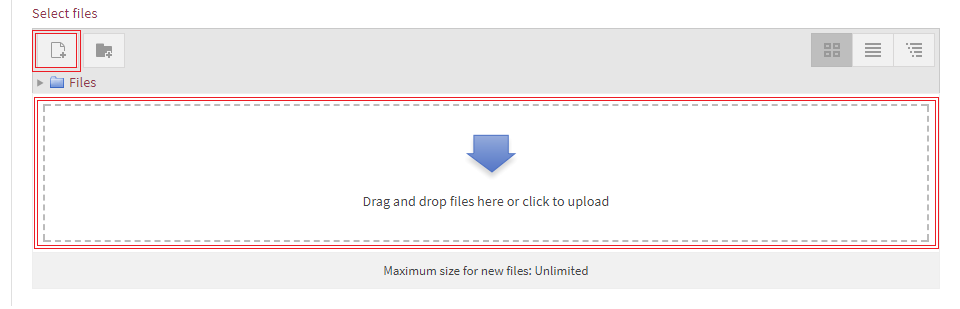
- When clicking on the Add icon, the 'File picker' opens. Click on Upload a file.
- Click on Choose File and navigate to your resources. Having selected your zipped folder, click Open.
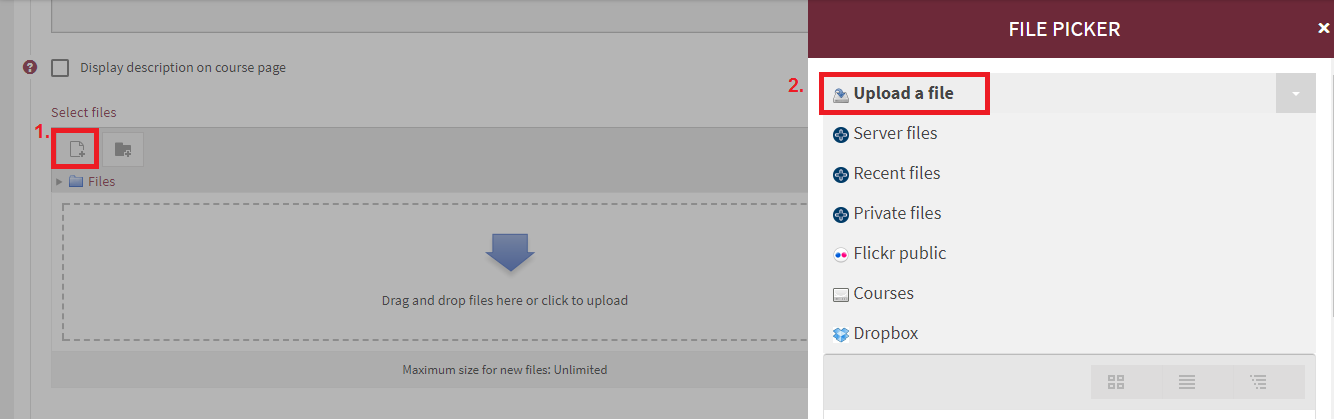
- Select UPLOAD A FILE
- Click 'Attachment'

- Click Save and Return to Course.
Pace four: Unzip your folder
Your files are currently zipped which, though user-friendly for uploading to QMplus, stops your students from accessing the content of the folder. To access the individual files you will now need to unzip the folder.
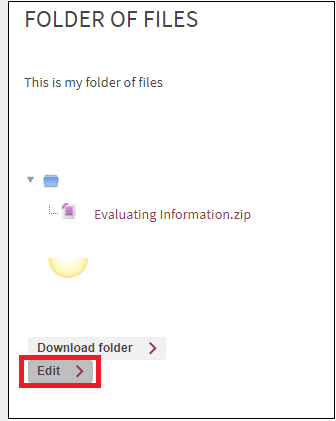
- Click on the the folder which you have created, in the topic y'all take selected.
- Click Edit.
- Click on the zip folder which you have uploaded, then 'unzip'.
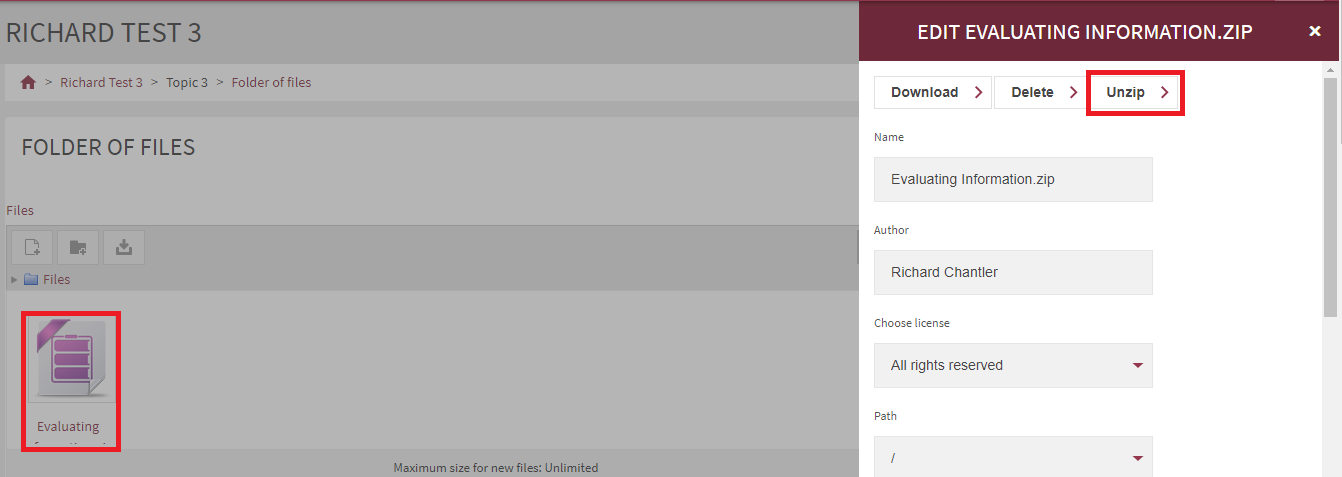
- ThenRelieve Changes.

Course page view
The image below illustrates how your folder might appear on your grade page. To view your files click on the folder link – in this instance 'Folder of files'.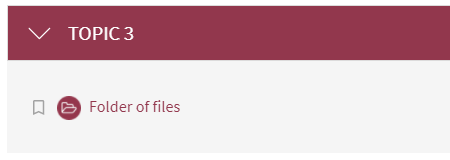
Resource displayed in the folder
The contents of your folder are displayed every bit a series of links. Please note that the name of the folder is displayed higher up the files. In this example it is 'Folder of files'.
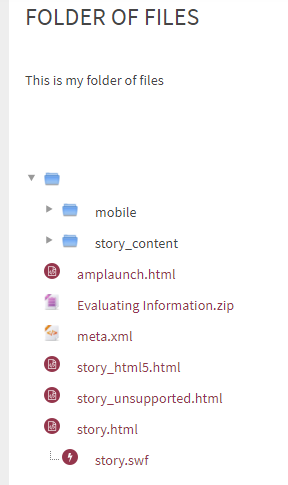
Tip: Files within a folder are displayed in numerical and alphabetical club. Yous tin apply this to dictate the guild in which the files announced; for instance, if you wanted 'groups.csv' to be at the top of the list y'all might add 01 to the kickoff of its file name.
…………………………………………….……………………………………………………..
Next steps
You may want to consider:
- Lightbox gallery: Uploading images to a gallery.
- Creating a Page.
Produced past the the Applied science Enhanced Learning Squad at Queen Mary University of London.


Source: https://elearning.qmul.ac.uk/guide/uploading-multiple-files-as-a-zipped-folder/
Posted by: marquezobarresidde.blogspot.com
0 Response to "How To Upload The Contents Of An Unzipped Zip File"
Post a Comment